
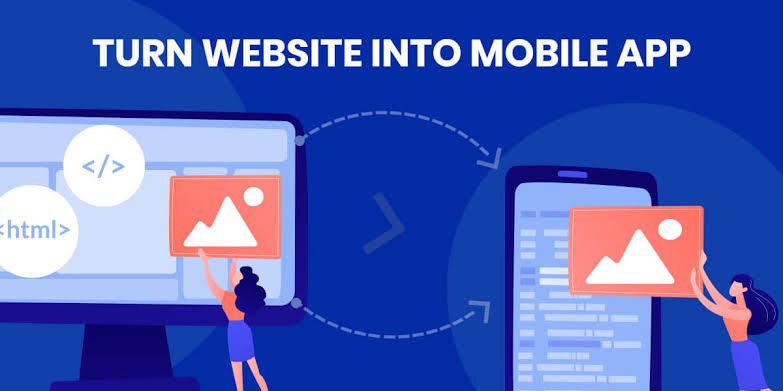
In today’s digital age, having a mobile presence is essential for businesses and individuals alike. How to Create a WebView App with a Website for Free and No Coding Knowledge However, not everyone has the technical expertise or resources to develop a dedicated mobile app from scratch. Thankfully, there’s a simple solution: creating a WebView app that displays your existing website content within a mobile app shell. In this guide, we’ll walk you through the process of creating a WebView app for free and without the need for any coding knowledge.
What is a WebView App?
A WebView app is essentially a mobile application that displays web content using a built-in web browser component. Instead of developing separate apps for different platforms (e.g., iOS and Android), a WebView app allows you to leverage your existing website and its content, making it accessible to mobile users without the need for extensive development.
Step 1: Choose a Platform for App Creation
Several online platforms offer tools for creating WebView apps without coding. Two popular options are **AppGyver** and **Thunkable**. For this tutorial, we’ll use Thunkable due to its user-friendly interface and ease of use.
Step 2: Sign Up and Log In
Head over to the Thunkable website (https://thunkable.com/) and sign up for a free account. Once you’ve registered, log in to your account to access the platform’s app creation tools.
Step 3: Create a New Project
After logging in, click on the “Create New App” button to start a new project. Give your project a name and choose the appropriate platform (iOS or Android).
Step 4: Design Your App Interface
Next, you’ll be taken to the Thunkable interface, where you can design the layout and functionality of your app. Since we’re creating a WebView app, you’ll only need to add a WebView component to the screen. Drag and drop the WebView component from the palette onto the canvas.
Step 5: Configure the WebView Component
With the WebView component added to your app, you’ll need to configure it to display your website. Select the WebView component on the canvas, and in the properties panel, enter the URL of your website in the “Home URL” field.
Step 6: Customize Your App (Optional)
While a basic WebView app will display your website content effectively, you can further customize your app’s appearance and functionality using Thunkable’s built-in tools. Add branding elements, navigation menus, or additional features to enhance the user experience.
Step 7: Preview and Test Your App
Before publishing your app, it’s essential to preview and test it to ensure everything functions as expected. Thunkable provides a preview mode that allows you to see how your app will look and behave on a mobile device. Use this feature to make any necessary adjustments or fixes.
Step 8: Publish Your App
Once you’re satisfied with your app’s design and functionality, it’s time to publish it to the app store. Thunkable offers straightforward publishing options for both iOS and Android platforms. Follow the on-screen instructions to generate the necessary app files and submit them to the respective app stores.
Conclusion
Creating a WebView app for your website is a cost-effective and efficient way to reach a broader audience of mobile users. With platforms like Thunkable, you can create professional-looking apps without any coding knowledge, making mobile app development accessible to everyone. Follow the steps outlined in this guide, and you’ll have your very own WebView app up and running in no time.
Have any thoughts?
Share your reaction or leave a quick response — we’d love to hear what you think!
-
 0
0
-
 0
0
-
 0
0
-
 0
0
-
 0
0
-
 0
0
