
Table of Contents
Build a Dynamic Quiz App with Next.js and Tailwind CSS
In the ever-evolving landscape of web development, creating interactive and engaging user experiences is paramount. Quiz applications, in particular, offer a fantastic way to test knowledge, educate users, or simply provide entertainment. For developers, building such an app presents an excellent opportunity to hone skills in modern web frameworks and styling utilities.
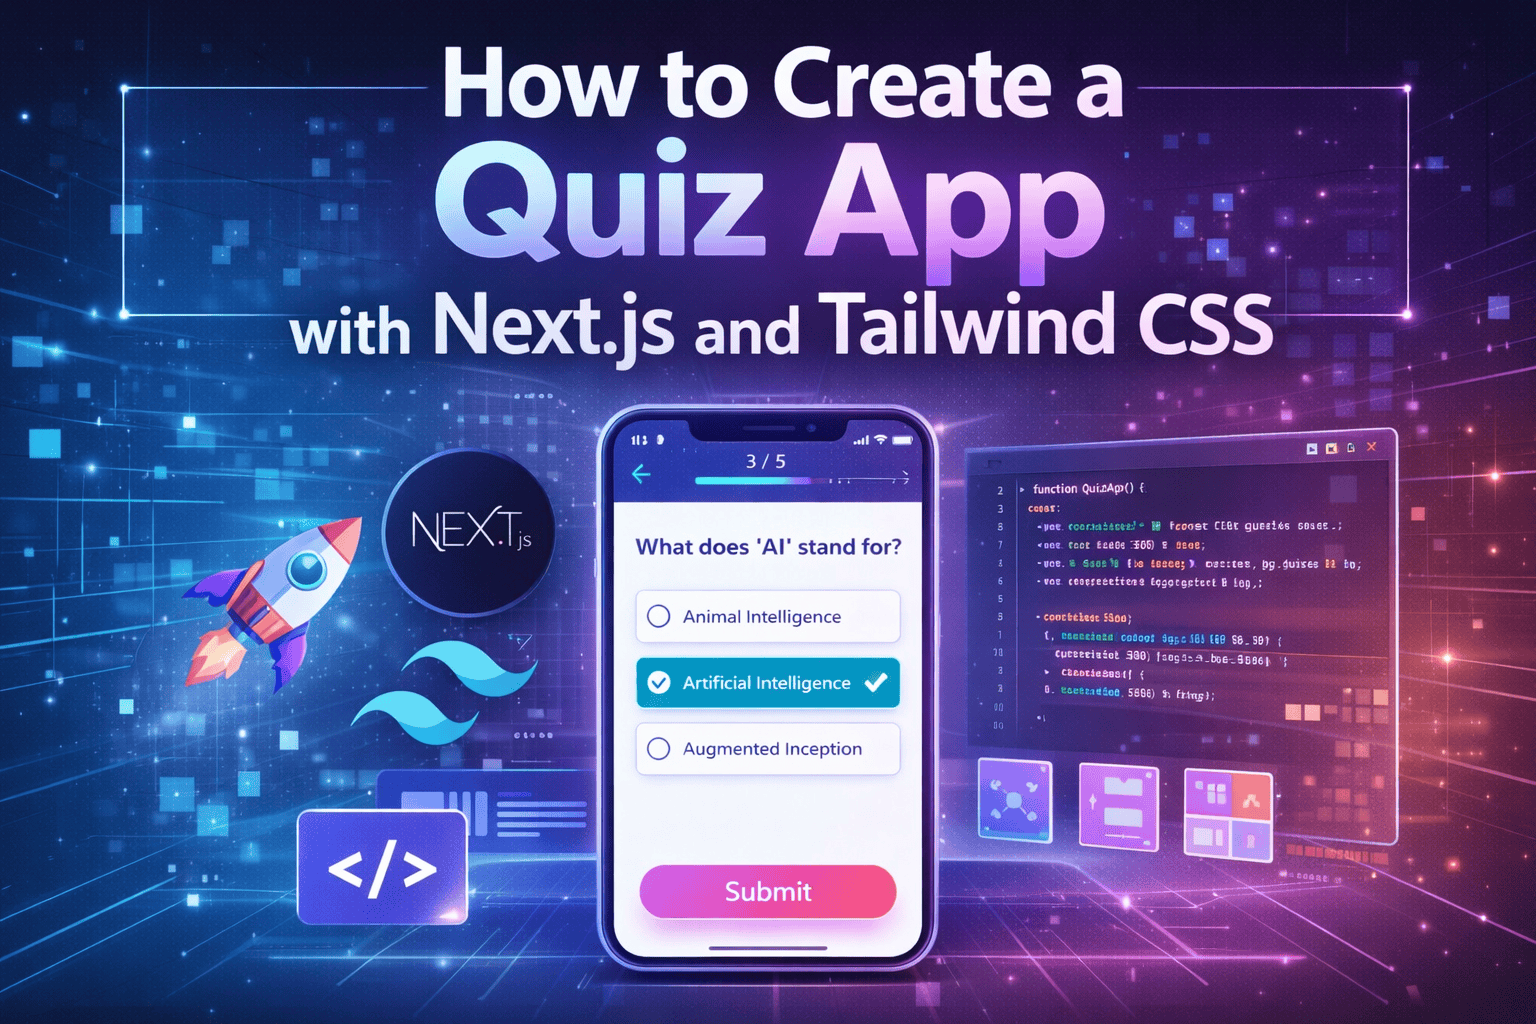
This comprehensive guide will walk you through the process of building a dynamic quiz application using two of the most popular and powerful tools in the React ecosystem: Next.js for its robust framework capabilities and Tailwind CSS for its utility-first approach to styling. By the end of this tutorial, you’ll have a fully functional, sleek, and responsive quiz app, along with a deeper understanding of how to leverage these technologies in your projects.
Why Next.js and Tailwind CSS?
Before we dive into the code, let’s briefly discuss why Next.js and Tailwind CSS are an ideal pairing for this project.
Next.js: The React Framework for Production
Next.js is a powerful, open-source React framework that enables developers to build server-side rendered (SSR), static site generated (SSG), and client-side rendered (CSR) React applications with ease. It comes packed with features that simplify complex tasks, such as:
- File-system based routing: Pages are created by simply adding files to the
pagesdirectory. - API Routes: Easily create backend API endpoints within your Next.js project.
- Image Optimization: Built-in optimization for images, improving performance.
- Fast Refresh: Instant feedback on changes made to your React components.
- Automatic Code Splitting: Only load the JavaScript needed for the current page.
For our quiz app, Next.js will provide the structured environment for our components, handle routing (even if simple for this app), and offer a solid foundation for future scalability.
Tailwind CSS: Utility-First for Rapid UI Development
Tailwind CSS is a highly customizable, utility-first CSS framework that provides low-level utility classes to build designs directly in your markup. Instead of predefined components, Tailwind offers classes like flex, pt-4, text-center, bg-blue-500, and hover:bg-blue-700 that you can combine to create unique designs.
The benefits of Tailwind CSS include:
- Rapid Development: Quickly style elements without leaving your HTML/JSX.
- No Unused CSS: Tailwind purges unused styles in production, resulting in smaller file sizes.
- Consistency: Encourages consistent design patterns across your application.
- Customization: Easily extend and customize the default theme to match your brand.
With Tailwind CSS, we’ll be able to create a visually appealing and responsive quiz interface without writing a single line of traditional CSS.
Prerequisites
To follow along with this tutorial, you should have:
- Node.js and npm/yarn: Installed on your machine. You can download them from nodejs.org.
- Basic understanding of React: Familiarity with components, props, state, and hooks (
useState). - Basic understanding of JavaScript: ES6 features like arrow functions, destructuring, etc.
- Code Editor: VS Code is highly recommended.
Let’s get started!
1. Setting Up Your Development Environment
The first step is to create a new Next.js project and integrate Tailwind CSS.
1.1 Create a New Next.js Project
Open your terminal or command prompt and run the following command to create a new Next.js application. We’ll name it quiz-app.
npx create-next-app@latest quiz-app --typescript --eslint --tailwind --app --src-dir
Let’s break down these flags:
quiz-app: The name of your project directory.--typescript: Initializes the project with TypeScript. While we won’t heavily rely on TypeScript for this basic app, it’s good practice.--eslint: Sets up ESLint for code linting.--tailwind: Configures Tailwind CSS automatically. This is a new feature and simplifies the setup!--app: Uses the new App Router, which is the future of Next.js.--src-dir: Creates asrcdirectory for your application code.
Navigate into your new project directory:
cd quiz-app
Now, run the development server to ensure everything is set up correctly:
npm run devor
yarn dev
Open your browser and go to http://localhost:3000. You should see the default Next.js starter page.
1.2 Verify Tailwind CSS Setup
Since we used the --tailwind flag, Next.js has already handled most of the Tailwind CSS setup for us. Let’s quickly verify the configuration.
tailwind.config.ts: This file should have been created in your project root. It defines your Tailwind configuration, including paths to your template files.// tailwind.config.ts import type { Config } from 'tailwindcss' const config: Config = { content: [ './src/pages//.{js,ts,jsx,tsx,mdx}', './src/components//.{js,ts,jsx,tsx,mdx}', './src/app/**/.{js,ts,jsx,tsx,mdx}', ], theme: { extend: { backgroundImage: { 'gradient-radial': 'radial-gradient(var(--tw-gradient-stops))', 'gradient-conic': 'conic-gradient(from 180deg at 50% 50%, var(--tw-gradient-stops))', }, }, }, plugins: [], } export default configThe
contentarray is crucial as it tells Tailwind which files to scan for utility classes to include in the final CSS bundle.src/app/globals.css: This file should contain the Tailwind directives./ src/app/globals.css */ @tailwind base; @tailwind components; @tailwind utilities;These
@tailwinddirectives inject Tailwind’sbasestyles,componentstyles, andutilityclasses into your CSS.- Test Tailwind: Let’s quickly test if Tailwind is working. Open
src/app/page.tsxand replace its content with a simpledivstyled with Tailwind.// src/app/page.tsx export default function Home() { return ( <div className="flex min-h-screen flex-col items-center justify-center bg-gray-100 p-4"> <h1 className="text-4xl font-bold text-blue-600"> Welcome to the Quiz App! </h1> <p className="mt-4 text-lg text-gray-700"> Tailwind CSS is working! </p> </div> ); }Save the file, and your browser should automatically refresh, displaying a blue heading and gray text on a light gray background, confirming Tailwind CSS is ready to go.
2. Designing the Quiz Data Structure
Before we build any UI, let’s define the structure of our quiz questions. We’ll use a simple array of objects, where each object represents a question and includes the question text, an array of answer options, and the index of the correct answer.
Create a new file src/data/questions.ts (or src/data/questions.js if not using TypeScript).
// src/data/questions.ts

export interface Question {
  questionText: string;
  answerOptions: { answerText: string; isCorrect: boolean }[];
}

export const questions: Question[] = [
  {
    questionText: 'What is the capital of France?',
    answerOptions: [
      { answerText: 'Berlin', isCorrect: false },
      { answerText: 'Madrid', isCorrect: false },
      { answerText: 'Paris', isCorrect: true },
      { answerText: 'Rome', isCorrect: false },
    ],
  },
  {
    questionText: 'Which planet is known as the Red Planet?',
    answerOptions: [
      { answerText: 'Earth', isCorrect: false },
      { answerText: 'Mars', isCorrect: true },
      { answerText: 'Jupiter', isCorrect: false },
      { answerText: 'Venus', isCorrect: false },
    ],
  },
  {
    questionText: 'What is the largest ocean on Earth?',
    answerOptions: [
      { answerText: 'Atlantic Ocean', isCorrect: false },
      { answerText: 'Indian Ocean', isCorrect: false },
      { answerText: 'Arctic Ocean', isCorrect: false },
      { answerText: 'Pacific Ocean', isCorrect: true },
    ],
  },
  {
    questionText: 'Who painted the Mona Lisa?',
    answerOptions: [
      { answerText: 'Vincent van Gogh', isCorrect: false },
      { answerText: 'Pablo Picasso', isCorrect: false },
      { answerText: 'Leonardo da Vinci', isCorrect: true },
      { answerText: 'Claude Monet', isCorrect: false },
    ],
  },
  {
    questionText: 'What is the chemical symbol for water?',
    answerOptions: [
      { answerText: 'O2', isCorrect: false },
      { answerText: 'H2O', isCorrect: true },
      { answerText: 'CO2', isCorrect: false },
      { answerText: 'NaCl', isCorrect: false },
    ],
  },
];
This structure is clean and easy to manage. Each answerOption now explicitly states if it’s correct, which simplifies our logic later.
3. Building the Core UI Components
Our quiz app will consist of several components to manage different parts of the UI and logic.
How to Center a Div Using CSS Grid
Women in Tech: Biographies of AI Leaders 2026
Anthropic Issues Copyright Takedowns Over Claude AI Code Leak
3.1 src/app/page.tsx (Main Quiz Page)
This will be our main entry point. We’ll manage the overall state of the quiz here, including which question is currently displayed, the user’s score, and whether the quiz has ended.
Replace the content of src/app/page.tsx with the following:
// src/app/page.tsx
'use client'; // This directive makes the component a Client Component

import { useState } from 'react';
import { questions, Question } from '../data/questions';

export default function Home() {
  const [currentQuestionIndex, setCurrentQuestionIndex] = useState(0);
  const [score, setScore] = useState(0);
  const [showScore, setShowScore] = useState(false);

  const handleAnswerOptionClick = (isCorrect: boolean) => {
    if (isCorrect) {
      setScore(score + 1);
    }

    const nextQuestion = currentQuestionIndex + 1;
    if (nextQuestion < questions.length) {
      setCurrentQuestionIndex(nextQuestion);
    } else {
      setShowScore(true);
    }
  };

  const restartQuiz = () => {
    setCurrentQuestionIndex(0);
    setScore(0);
    setShowScore(false);
  };

  return (
    <div className="flex min-h-screen items-center justify-center bg-gradient-to-br from-blue-500 to-purple-600 p-4">
      <div className="w-full max-w-lg rounded-lg bg-white p-8 shadow-xl">
        {showScore ? (
          <div className="text-center">
            <h2 className="text-3xl font-bold text-gray-800">
              You scored {score} out of {questions.length}
            </h2>
            <button
              onClick={restartQuiz}
              className="mt-6 rounded-full bg-blue-600 px-8 py-3 text-lg font-semibold text-white shadow-md transition duration-300 hover:bg-blue-700 focus:outline-none focus:ring-2 focus:ring-blue-500 focus:ring-opacity-50"
            >
              Play Again
            </button>
          </div>
        ) : (
          <>
            <div className="mb-6">
              <div className="text-xl font-semibold text-gray-600">
                Question {currentQuestionIndex + 1}/{questions.length}
              </div>
              <div className="mt-2 text-2xl font-bold text-gray-800">
                {questions[currentQuestionIndex].questionText}
              </div>
            </div>
            <div className="grid grid-cols-1 gap-4">
              {questions[currentQuestionIndex].answerOptions.map((option, index) => (
                <button
                  key={index}
                  onClick={() => handleAnswerOptionClick(option.isCorrect)}
                  className="rounded-lg border border-gray-300 bg-gray-50 p-4 text-left text-lg font-medium text-gray-700 transition duration-300 hover:bg-blue-100 hover:border-blue-400 focus:outline-none focus:ring-2 focus:ring-blue-500 focus:ring-opacity-50"
                >
                  {option.answerText}
                </button>
              ))}
            </div>
          </>
        )}
      </div>
    </div>
  );
}
Explanation of src/app/page.tsx:
'use client';: This directive is crucial for components that rely on client-side features likeuseStateand event handlers. In Next.js App Router, components are Server Components by default.- State Variables:
currentQuestionIndex: Tracks which question is currently being displayed.score: Stores the user’s correct answers.showScore: A boolean to toggle between displaying the quiz questions and the final score.
handleAnswerOptionClickFunction:- This function is called when an answer button is clicked.
- It checks if the selected answer is correct and updates the
scoreaccordingly. - It then increments
currentQuestionIndex. - If there are no more questions, it sets
showScoretotrueto display the results.
restartQuizFunction:- Resets all state variables to their initial values, allowing the user to play again.
- Conditional Rendering:
- The component conditionally renders either the score section (
showScoreistrue) or the question/answer section (showScoreisfalse).
- The component conditionally renders either the score section (
- Mapping Answer Options:
- It iterates through the
answerOptionsarray of the current question and renders a button for each option. - Each button’s
onClickhandler is set to callhandleAnswerOptionClickwith theisCorrectproperty of that option.
- It iterates through the
- Tailwind Styling:
- The outer
divusesmin-h-screen,flex,items-center,justify-centerto center the quiz card vertically and horizontally. bg-gradient-to-br from-blue-500 to-purple-600creates a beautiful background gradient.- The quiz card itself has
w-full max-w-lg,rounded-lg,bg-white,p-8, andshadow-xlfor a modern look. - Buttons and text elements are styled with various Tailwind classes for padding, text size, colors, hover effects, and focus states.
- The outer
At this point, you have a fully functional quiz app! You can run npm run dev and test it out.
3.2 (Optional) Refactoring into Smaller Components
While our current page.tsx is manageable, for larger applications, it’s good practice to break down complex pages into smaller, reusable components. Let’s refactor our page.tsx into three main components: QuestionSection, AnswerSection, and ScoreSection.
First, create a new directory src/components.
3.2.1 src/components/QuestionSection.tsx
This component will display the question number and the question text.
// src/components/QuestionSection.tsx
import React from 'react';
import { Question } from '../data/questions'; // Assuming Question interface is exported

interface QuestionSectionProps {
  currentQuestionIndex: number;
  totalQuestions: number;
  questionText: string;
}

const QuestionSection: React.FC<QuestionSectionProps> = ({
  currentQuestionIndex,
  totalQuestions,
  questionText,
}) => {
  return (
    <div className="mb-6">
      <div className="text-xl font-semibold text-gray-600">
        Question {currentQuestionIndex + 1}/{totalQuestions}
      </div>
      <div className="mt-2 text-2xl font-bold text-gray-800">
        {questionText}
      </div>
    </div>
  );
};

export default QuestionSection;
3.2.2 src/components/AnswerSection.tsx
This component will render the answer buttons.
// src/components/AnswerSection.tsx
import React from 'react';

interface AnswerOption {
  answerText: string;
  isCorrect: boolean;
}

interface AnswerSectionProps {
  answerOptions: AnswerOption[];
  handleAnswerOptionClick: (isCorrect: boolean) => void;
}

const AnswerSection: React.FC<AnswerSectionProps> = ({
  answerOptions,
  handleAnswerOptionClick,
}) => {
  return (
    <div className="grid grid-cols-1 gap-4">
      {answerOptions.map((option, index) => (
        <button
          key={index}
          onClick={() => handleAnswerOptionClick(option.isCorrect)}
          className="rounded-lg border border-gray-300 bg-gray-50 p-4 text-left text-lg font-medium text-gray-700 transition duration-300 hover:bg-blue-100 hover:border-blue-400 focus:outline-none focus:ring-2 focus:ring-blue-500 focus:ring-opacity-50"
        >
          {option.answerText}
        </button>
      ))}
    </div>
  );
};

export default AnswerSection;
3.2.3 src/components/ScoreSection.tsx
This component will display the final score and a restart button.
// src/components/ScoreSection.tsx
import React from 'react';

interface ScoreSectionProps {
  score: number;
  totalQuestions: number;
  restartQuiz: () => void;
}

const ScoreSection: React.FC<ScoreSectionProps> = ({
  score,
  totalQuestions,
  restartQuiz,
}) => {
  return (
    <div className="text-center">
      <h2 className="text-3xl font-bold text-gray-800">
        You scored {score} out of {totalQuestions}
      </h2>
      <button
        onClick={restartQuiz}
        className="mt-6 rounded-full bg-blue-600 px-8 py-3 text-lg font-semibold text-white shadow-md transition duration-300 hover:bg-blue-700 focus:outline-none focus:ring-2 focus:ring-blue-500 focus:ring-opacity-50"
      >
        Play Again
      </button>
    </div>
  );
};

export default ScoreSection;
3.2.4 Update src/app/page.tsx to use new components
Now, let’s update our src/app/page.tsx to use these new components.
// src/app/page.tsx
'use client';

import { useState } from 'react';
import { questions } from '../data/questions';
import QuestionSection from '../Have any thoughts?
Share your reaction or leave a quick response — we’d love to hear what you think!
-
 0
0
-
 0
0
-
 0
0
-
 0
0
-
 0
0
-
 0
0
